


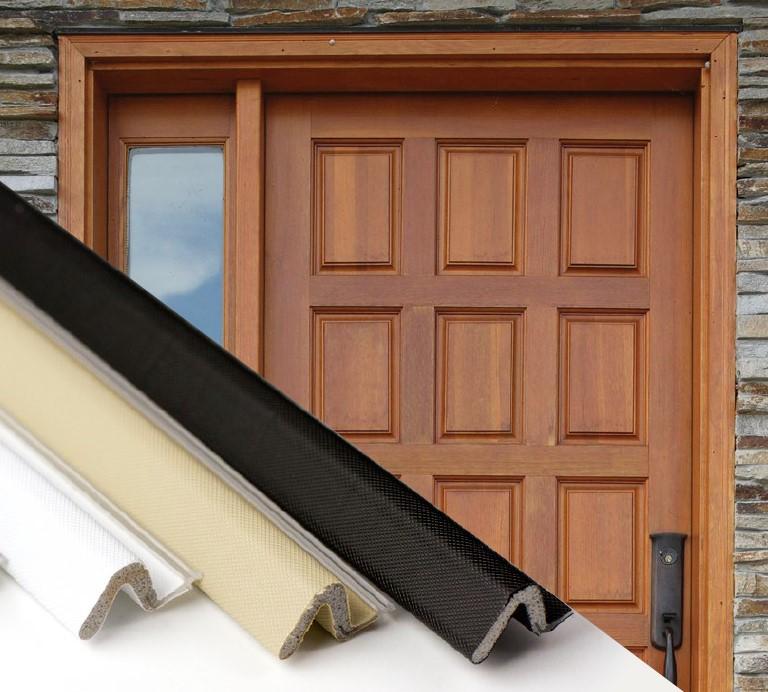


If your old door hinges are worn out and you’re installing newpivot door hinges, you’ve come to the right place. In this post, we provide astraightforward installation guide for pivot door hinges. Let’s get started!
Install Pivot Door Hinges in 7 Simple Steps
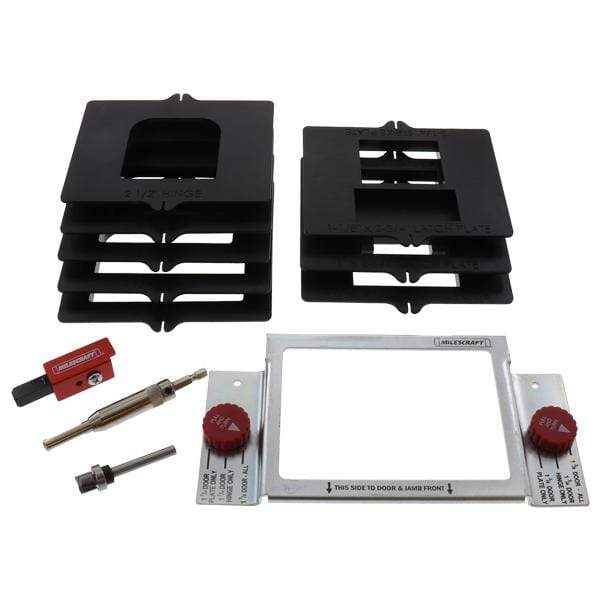
1. Gather Tools

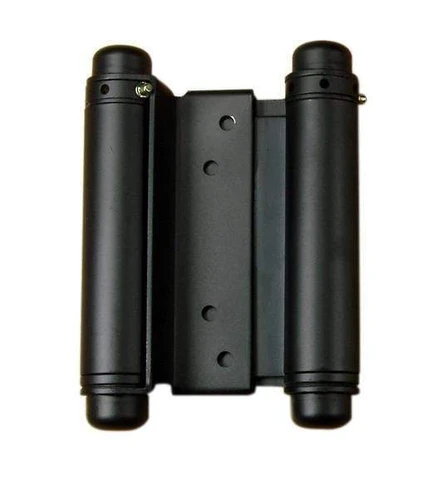
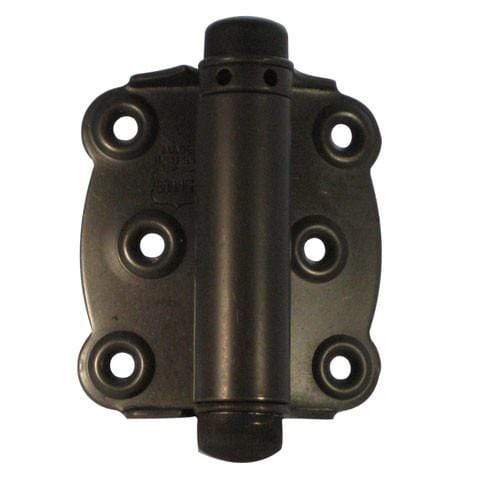
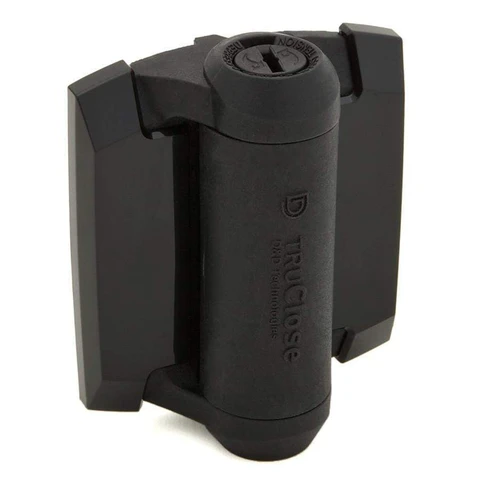
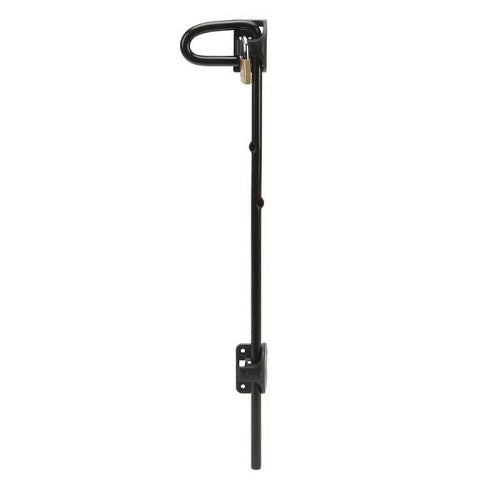
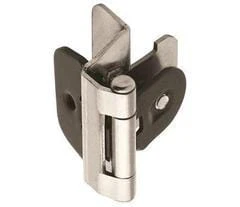
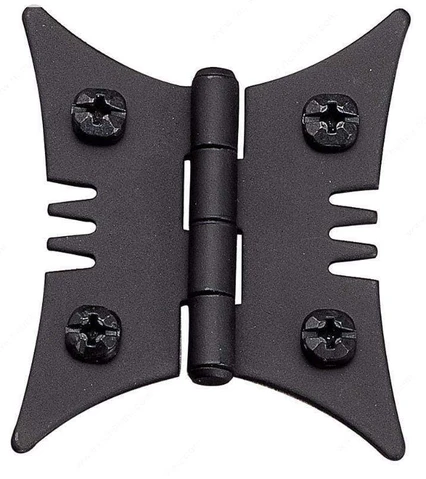
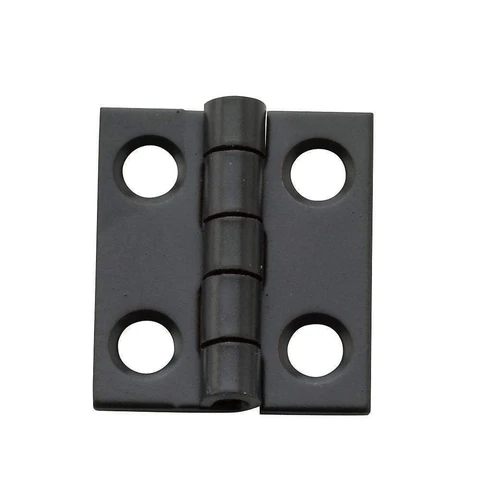
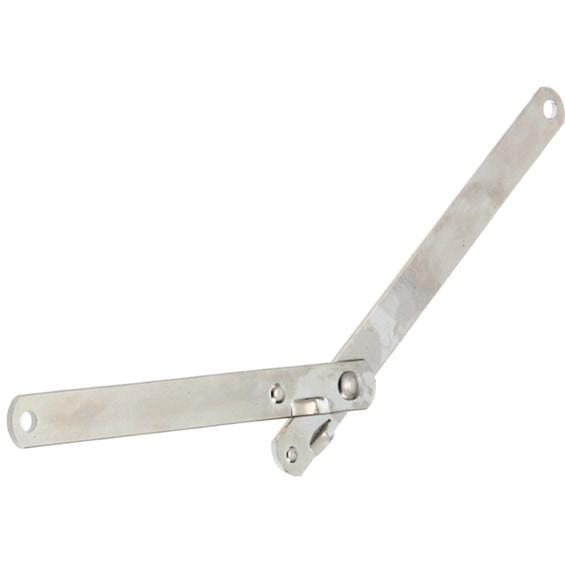
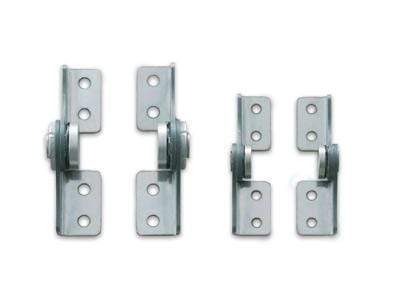
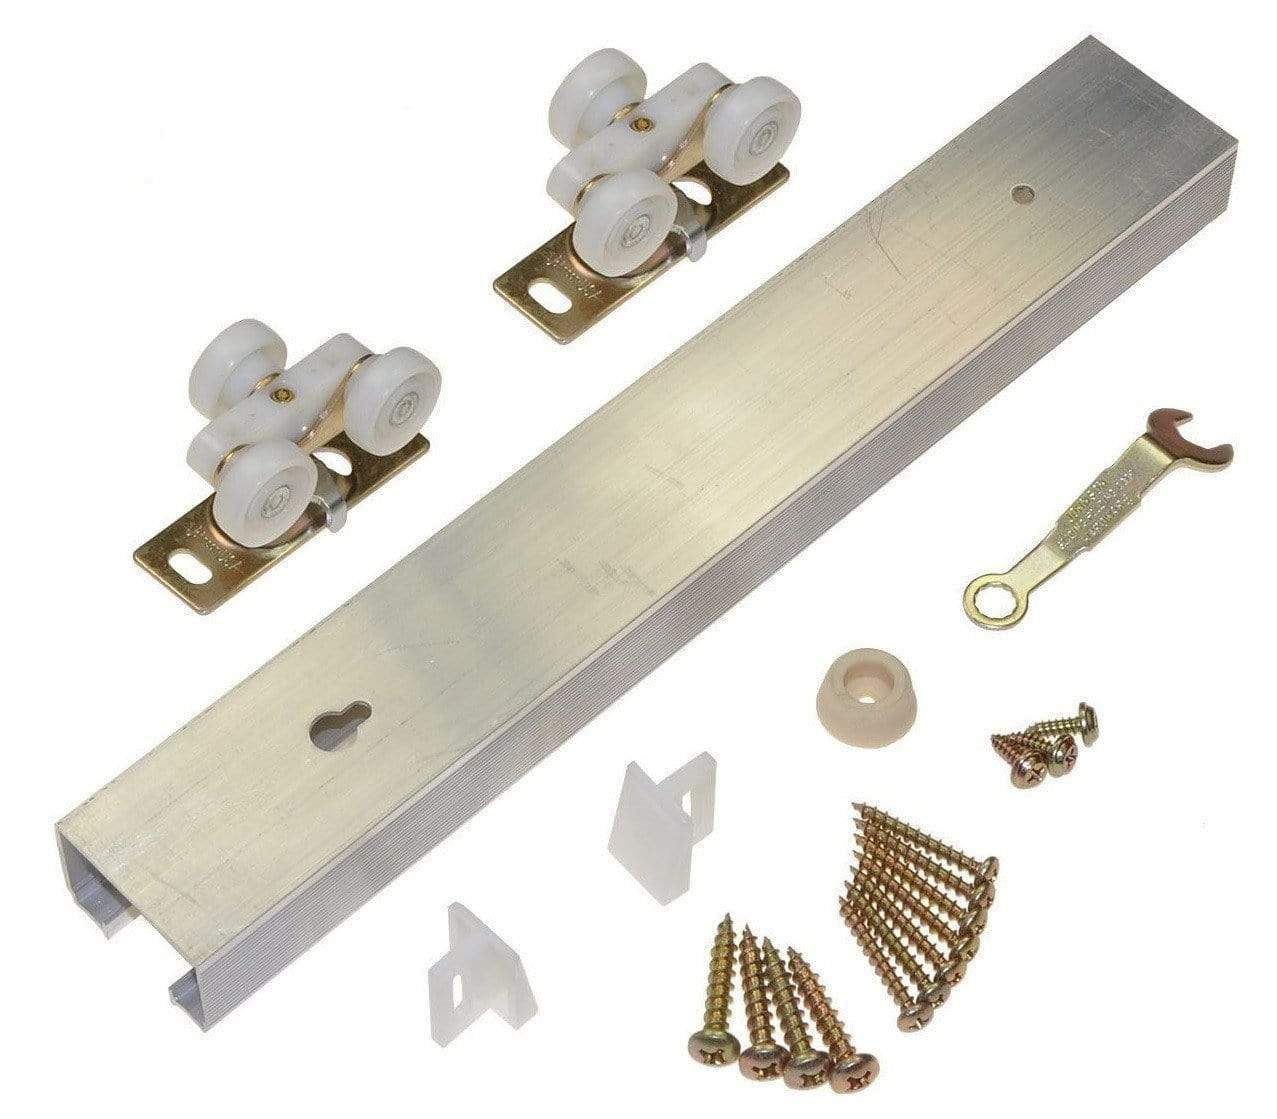
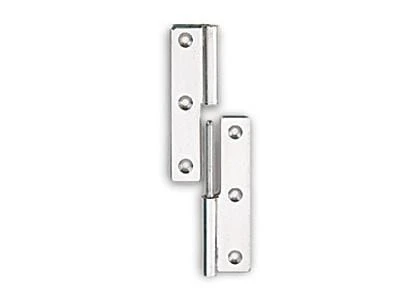
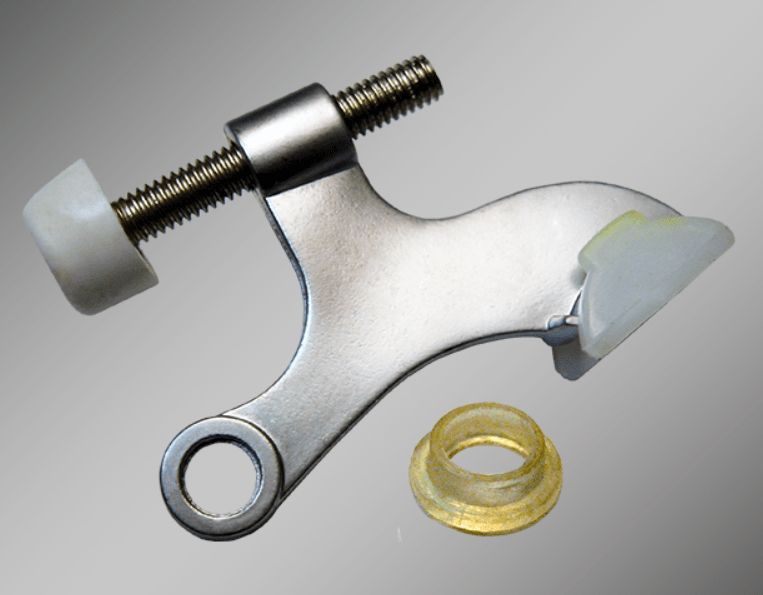
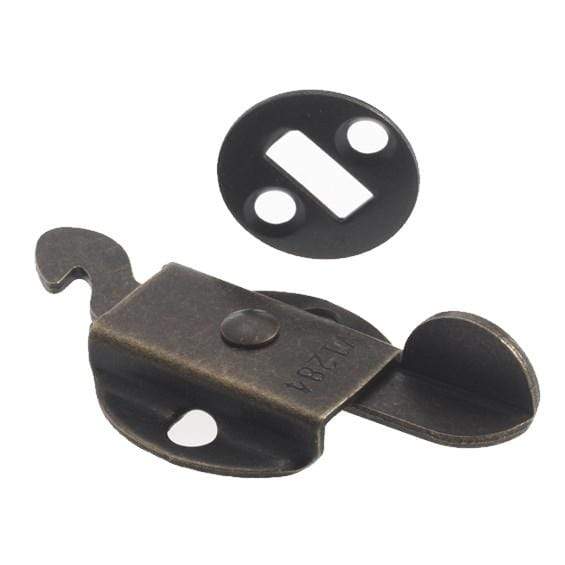
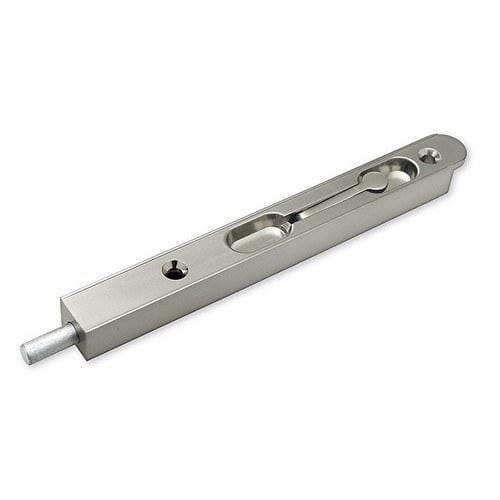
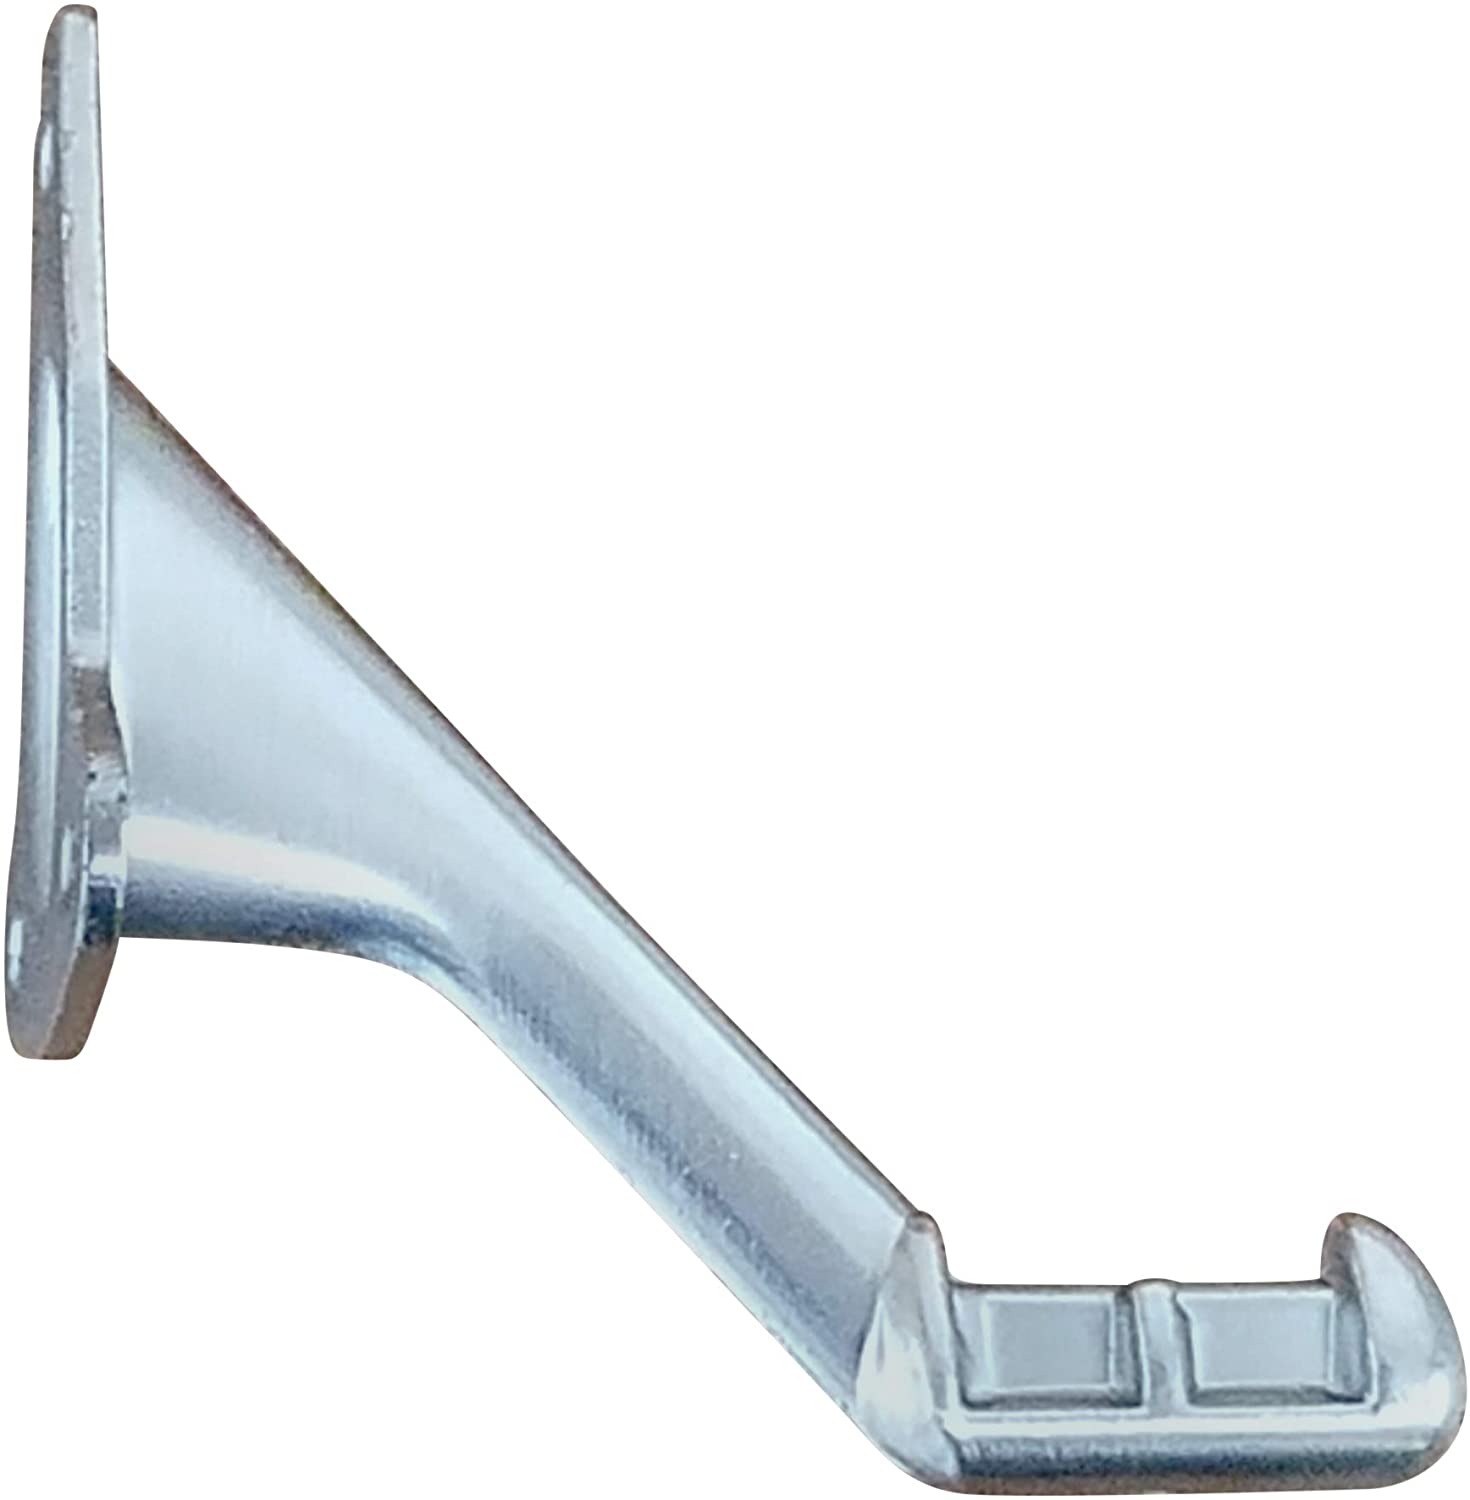
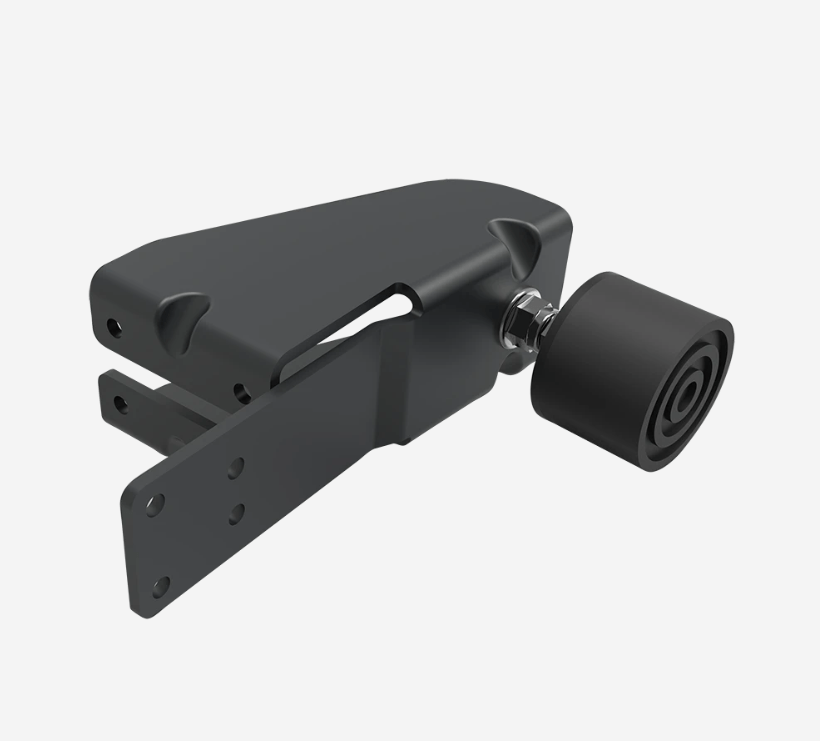
- Pivot door hinges
- Drill and drill bits
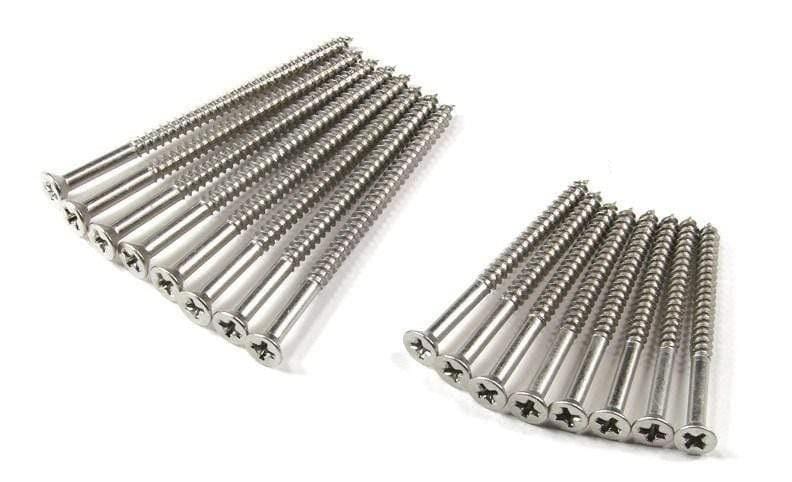
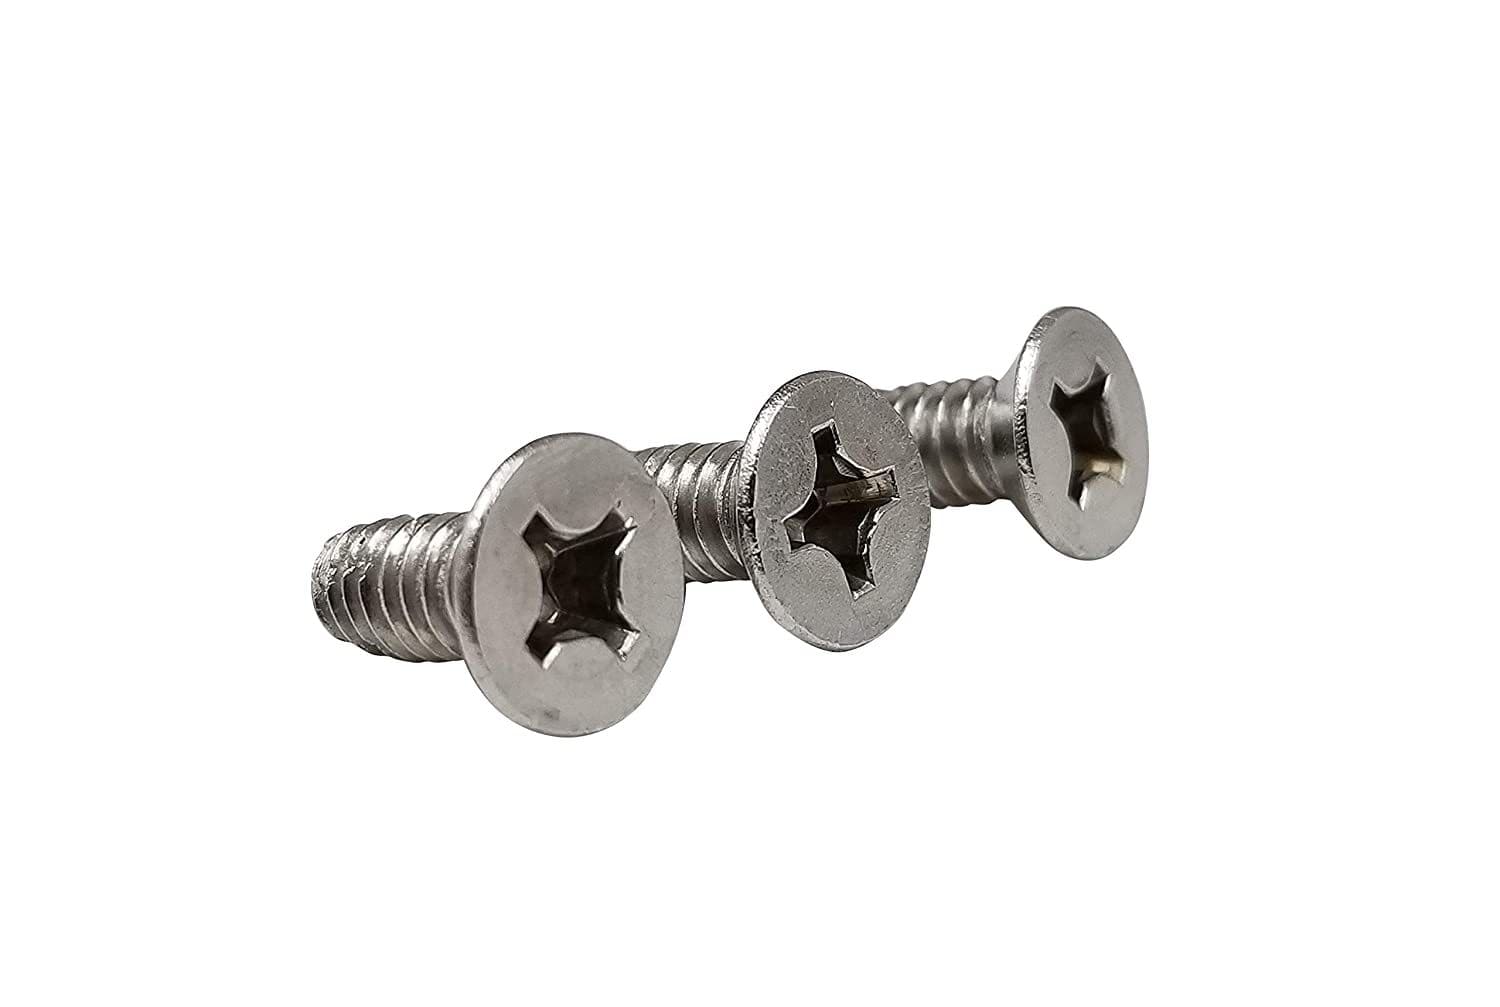
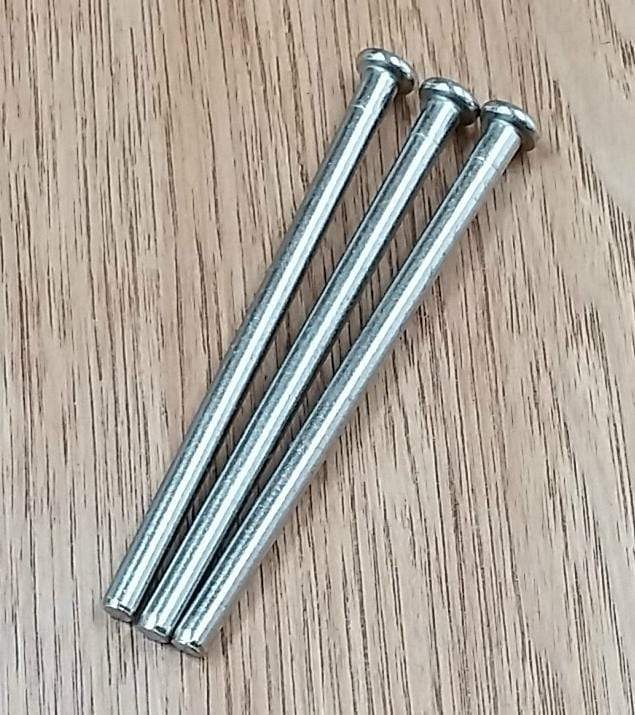
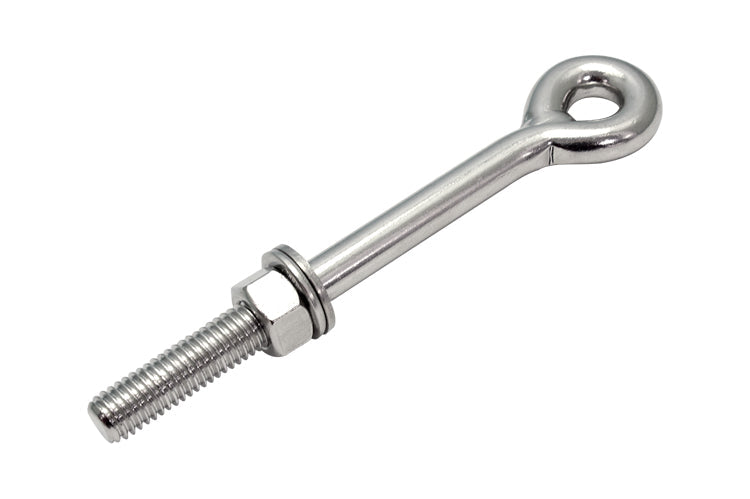
- Screws
- Screwdriver
- Tape measure
- Level
- Pencil or marker
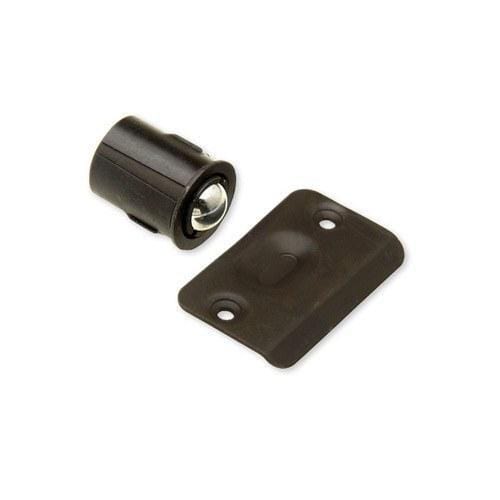
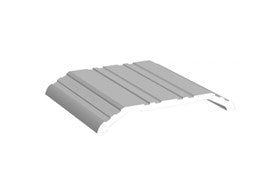
- Door shims
- Safety goggles
 |
 |
 |
|
| Pivot Door Hinges | Screws | Tape Measure | Door Shims |
Pro tip: Use twist drill bits for wood and plastic frames. Use masonry bits to drill into concrete and stone. Use high-speed steel bits for metal door frames.
2. Determine Hinge Weight Capacity and Size
When choosing your pivot hinges, you first need to know theweight of your door to determine the weight capacity needed for your hinges.
- Standard residential door hingessupport between 250 and 500 pounds.
- Standard commercial door hingessupport up to 1,000 pounds.
Next, consider the size of the pivot door hinges you need. Hinges are typically categorized by the width and thickness of the door they are designed to support.
- Forstandard interior doors, a typical pivot hinge size might accommodate door widths up to 36 inches and thicknesses around 1.75 inches.
- Exterior and oversized doors are typically heavier and broader, which requires heavy-duty hinges.
3. Prepare the Door and Frame
Now, measure and mark the door and frame to determine where the new hinges will attach. In most cases, the bottom hinge should be installed an inch from the ground, and the top should be installed just below the door’s top edge.
4. Install the Bottom Hinge
Begin drilling holes for the bottom hinge according to your markings. Use a drill bit that matches the size of the hinge screws.
Install the bottom hinge plate on the floor (or the threshold if your door design includes one). Then, attach the corresponding pivot component to the bottom of the door.
Ensure both the hinge plate and pivot component are perfectly aligned and level before screwing them securely into place.
5. Install the Top Hinge
Mark and drill holes for the top hinge, as you did in the previous step. These holes should be at the top of the door frame. Then, attach the hinge to the top of the door frame and attach the corresponding pivot component to the top of the door.
Pro tip: Make sure both the top and bottom hinges are aligned and level before fully tightening all screws. If the bottom and top screws are not perfectly aligned, the door will not open and close properly.
6. Hang the Door

Now that the pivot door hinges are installed, it’s time to put the door back on its frame.
Position the door so the pivot points align with the corresponding hinge parts installed on the door frame. Then, secure the door to these points on both the top and bottom hinges.
Pro tip: This step is easiest with assistance, as it can be tricky to align everything perfectly.
7. Final Checks and Adjustments
After the door is attached, check its swing and alignment by opening and closing it several times. If the door scrapes or sticks to the floor, place door shims under the bottom hinge to adjust the door’s height or angle.